James Hardie Garage Conversion Contractor in San Antonio: What to Know First
We provide independent James Hardie garage conversion contractor work across San Antonio, handling everything from attached garage conversions to detached garage apartments where fiber cement siding and trim need to be cut, re-flashed, re-sealed, or extended to meet the new roofline. Most garage conversions in San Antonio run $45,000 to $95,000 depending on whether you’re adding a bathroom and how much of the existing Hardie siding has to come off to tie in the new framing. Every job starts with a written price before any work begins, and you can reach us at (210) 981-6358 to schedule a free estimate.
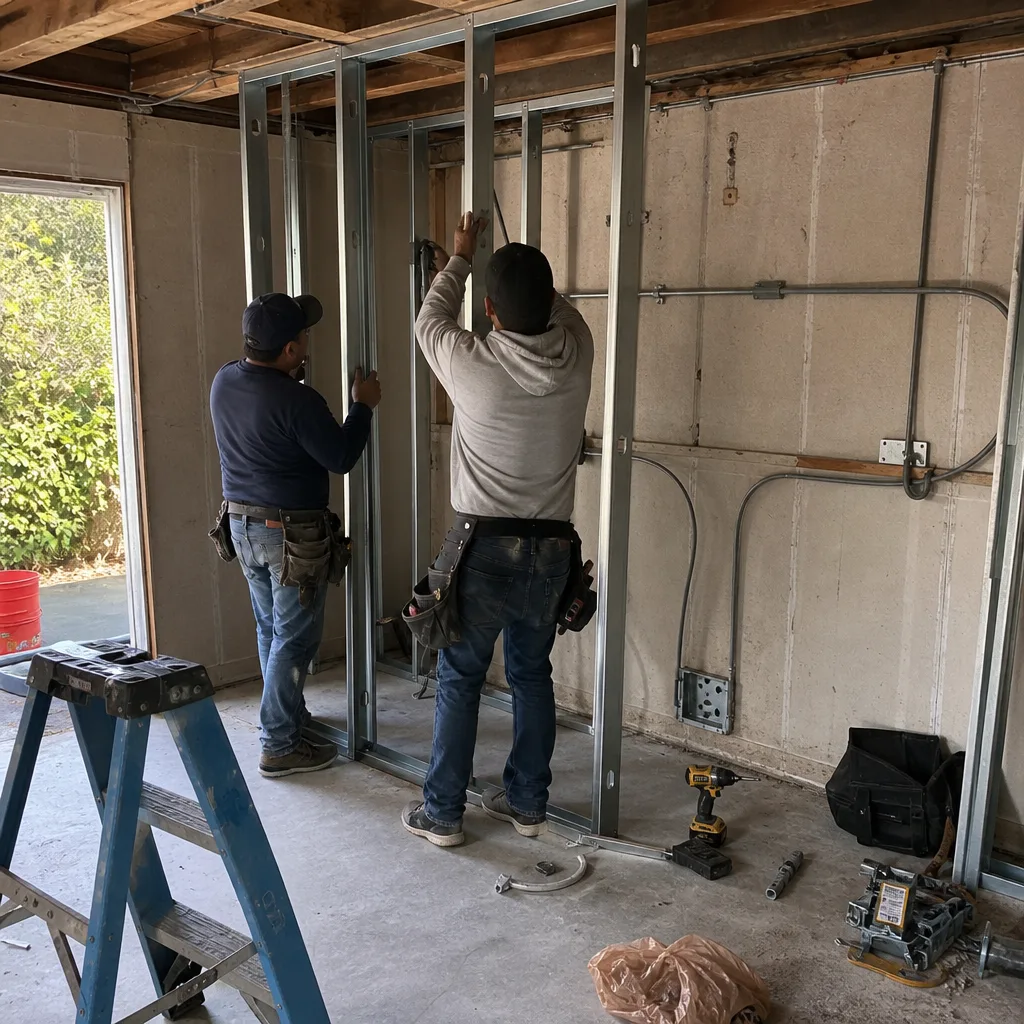
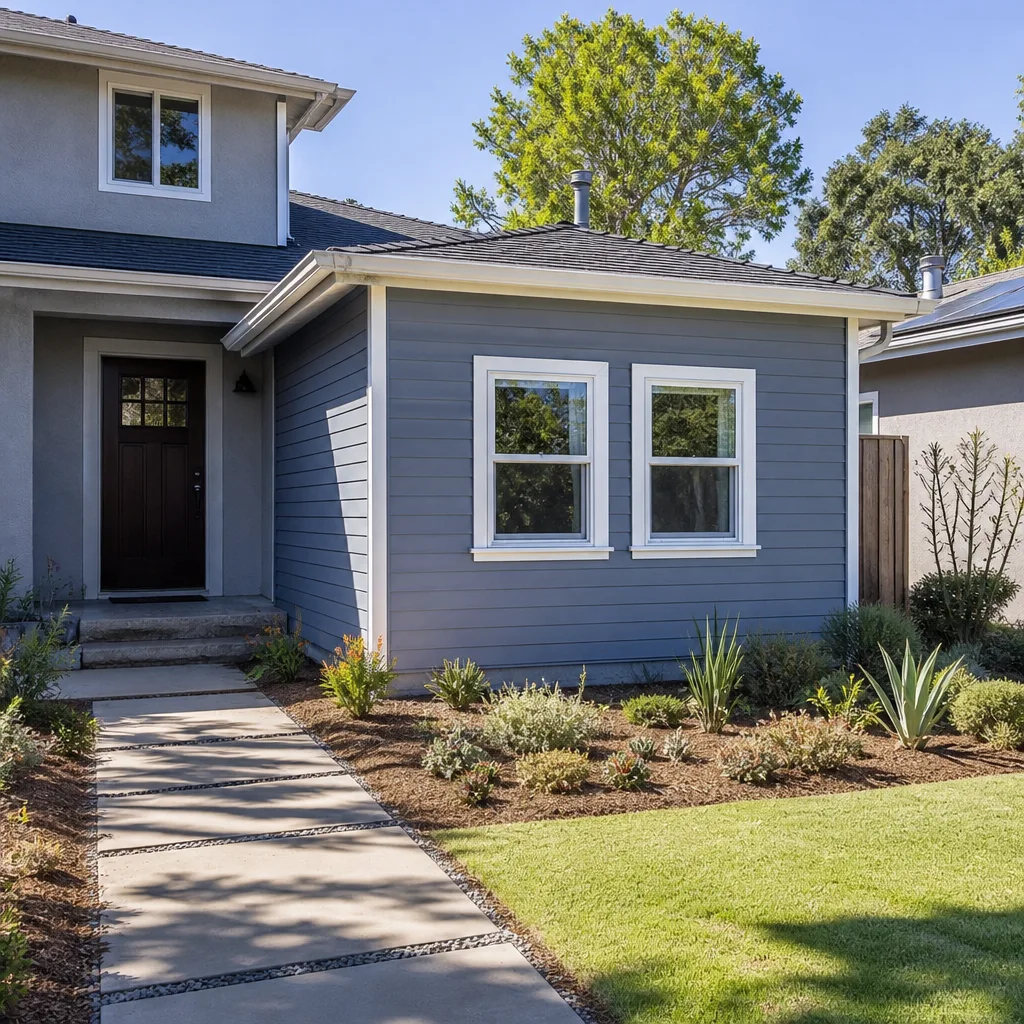
This page is for James Hardie owners in San Antonio who want to convert a garage without watching their fiber cement siding get torn apart by a crew that doesn’t understand how Hardie boards behave in Central Texas heat and humidity. As an independent James Hardie service provider, we don’t claim factory authorization, but we do know these products well enough to preserve them through a conversion, and to match them cleanly where walls have to come down.
How James Hardie Products Fail During a Garage Conversion – and How We Fix Them
- HardiePlank lap siding cracking at cut edges near the garage slab. In San Antonio’s clay-heavy soil, garage slabs move with seasonal moisture swings. When a conversion adds a new wall or header, the existing HardiePlank boards, which are stiff and brittle compared to vinyl, can crack at nail points or cut edges if they’re overdriven during the original install. We find this on older homes around Alamo Heights and Terrell Hills all the time. The fix is careful re-fastening with the right gap spacing and replacing cracked boards using blind nailing, never face-nailing into a weakened edge.
- HardieTrim boards delaminating at bottom edges from sprinkler overspray. HardieTrim and HardiePlank lap siding both need a 6-inch minimum clearance from grade and at least 2 inches from hardscape. Many San Antonio garages sit low to the ground, and years of irrigation hitting the bottom course means the boards swell and start to layer apart. During a garage conversion we cut out the damaged section, install new HardieTrim with the proper clearance and a painted drip edge, and re-caulk the joint with a quality exterior sealant that actually flexes in Texas heat.
- HardieBacker board behind old garage wall framing failing due to interior moisture. When a garage was built with HardieBacker cement board as a shear or backer panel and then lived in for decades with a car’s condenser dripping or a water heater venting nearby, the board can hold moisture and compromise the studs behind it. We open the wall, inspect what’s behind, replace framing as needed, and re-sheath with material suited to the now-conditioned space, reusing or matching HardieBacker only where the original fire rating requires it.
- ColorPlus finish fading unevenly on the south-facing garage wall. Hardie’s ColorPlus factory finish is baked on and durable, but San Antonio sun punishes dark colors on unshaded south and west walls. After ten or twelve years, a garage conversion that leaves one original HardiePlank section exposed next to a new addition can look patchy. We address this by planning the conversion to either re-paint the entire affected elevation or choose a complementary trim break so the eye doesn’t compare old and new siding side by side.
- Improper flashing where the old garage roofline met the house wall. This is the failure we see most. The original builder tied HardiePlank siding into the garage roof with a simple L-flashing that’s now rusted, cracked, or peeling away. When we raise the ceiling for a conversion or add a dormer, water intrusion at that old seam becomes a real threat. We replace the flashing with new galvanized or powder-coated metal, install a proper kickout diverting water away from the wall, and re-seal the Hardie siding joints with sealant specified for fiber cement.
Our James Hardie Garage Conversion Contractor Process
- 1
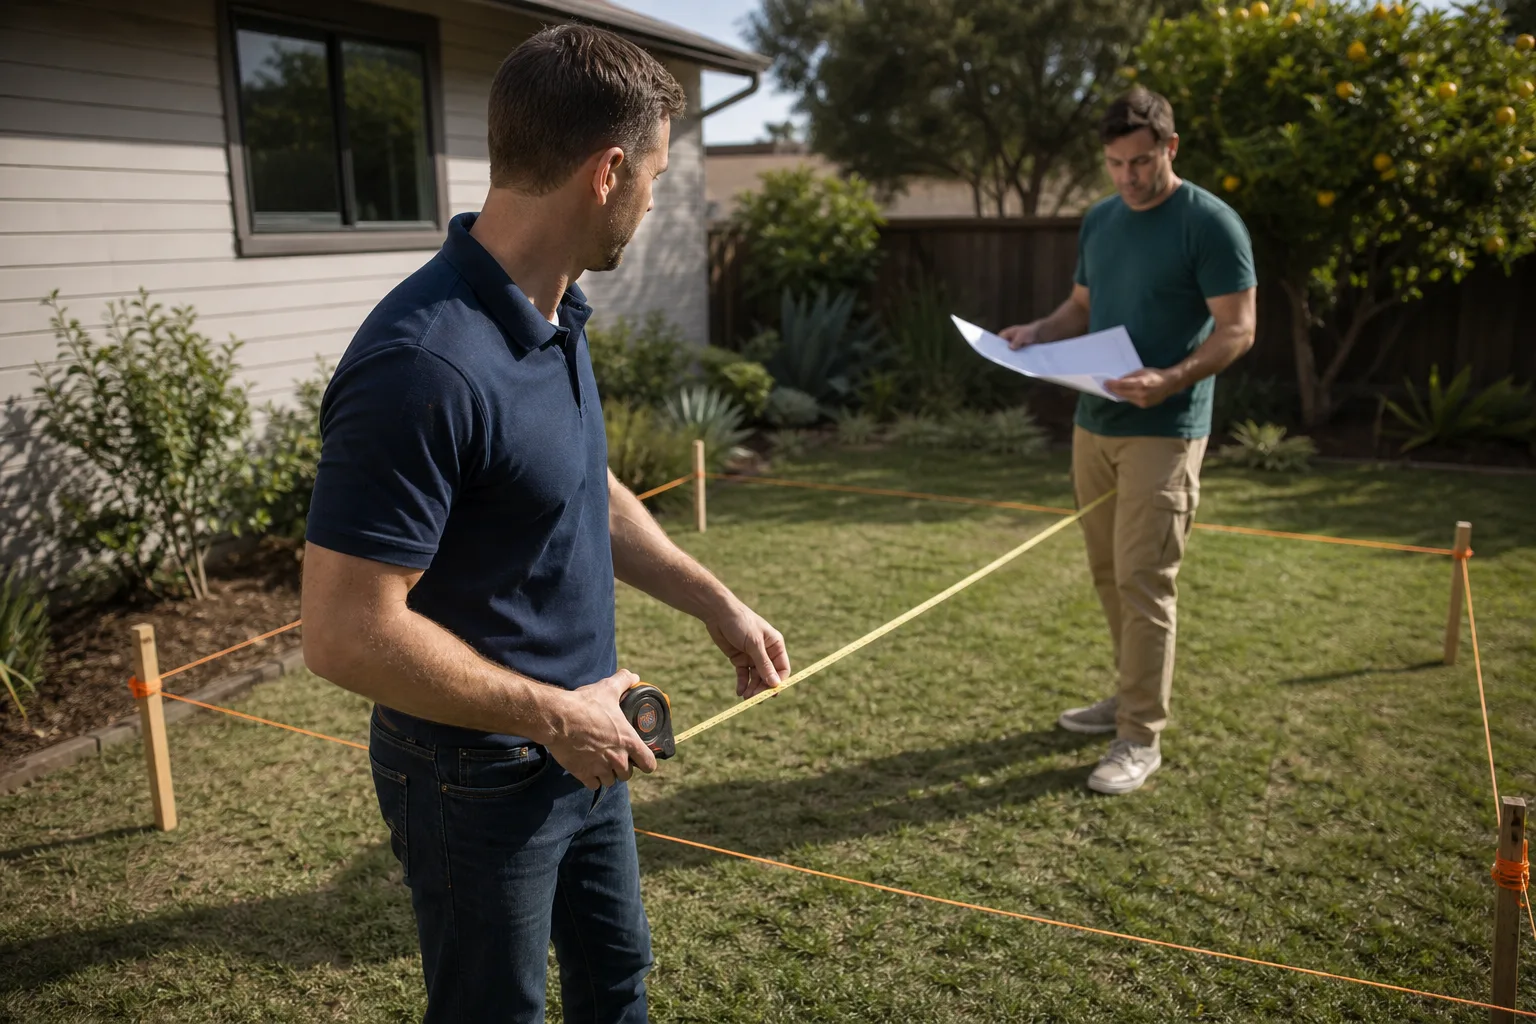
The site walk. We come out, walk the garage with you, and talk about what you need the space to do. Ben Ortega does most of these himself. We look at the Hardie siding condition, the slab, the roof tie-in, and the panel before we commit to anything.
- 2
Written scope and price. You get a line-item written price before any work starts. No surprise line items added after the crew arrives. If we find rot behind the Hardie boards, we photograph it and bring you options before we do anything.
- 3
Material decision. We match your existing HardiePlank, HardiePanel, or HardieTrim wherever possible. Where an exact match isn’t available, we talk through OEM vs. quality aftermarket board options and what that means for your warranty situation before buying anything.
- 4
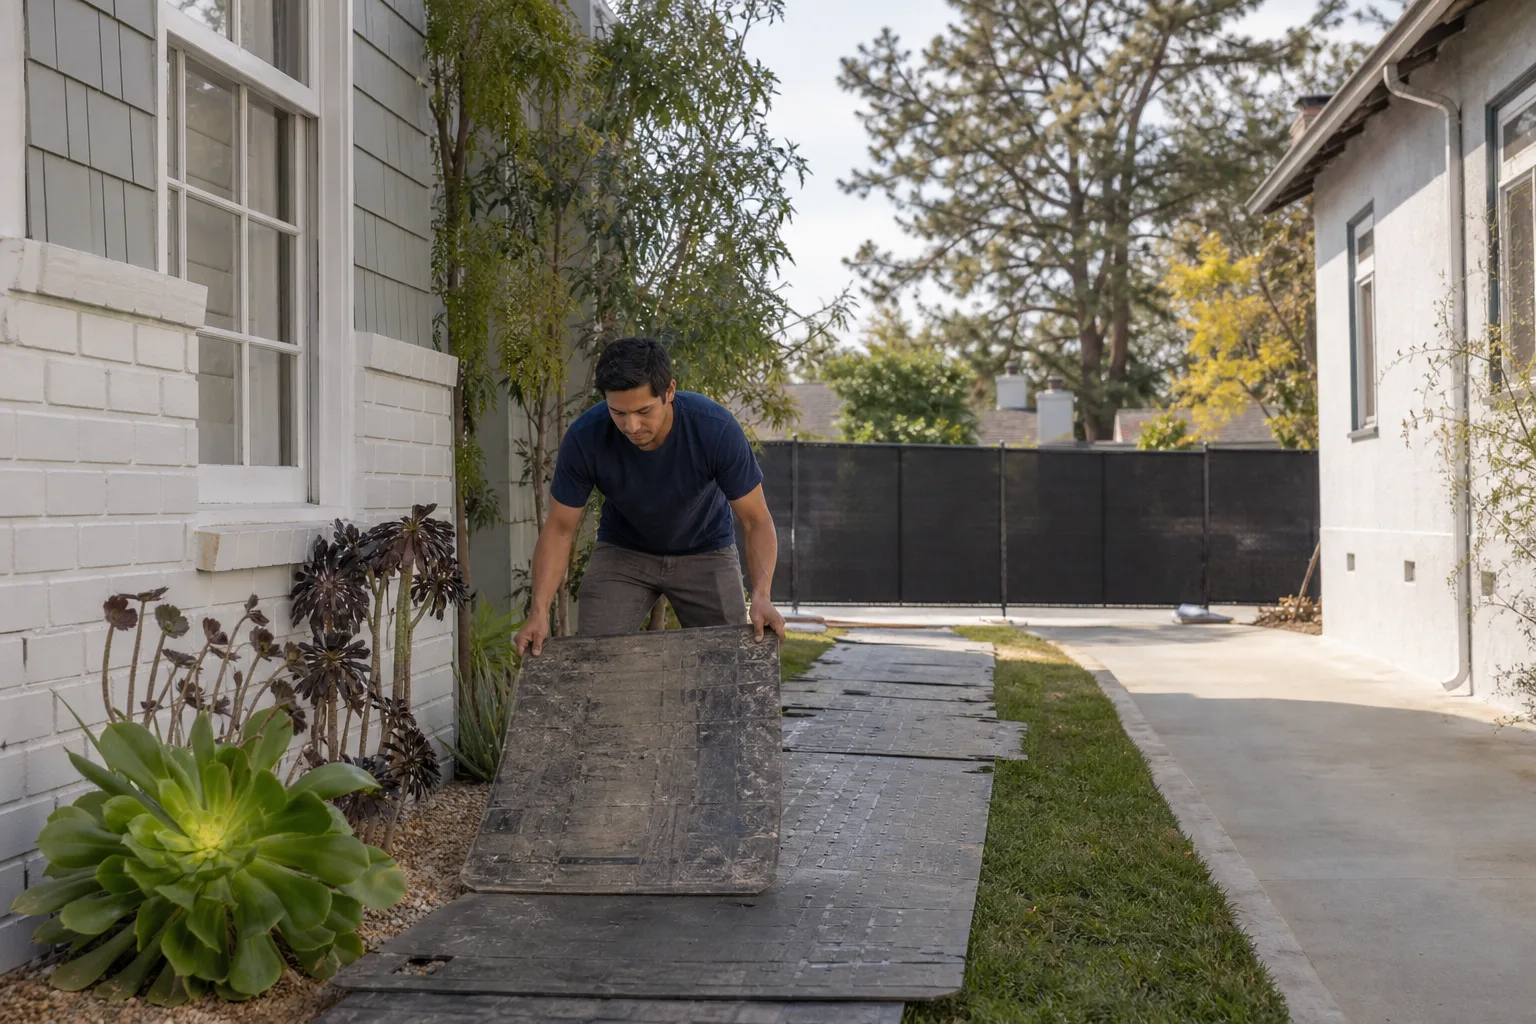
The conversion work. Our crew works through framing, electrical, insulation, drywall, and finish-out while protecting the rest of the house. Shoe covers and drop cloths go down before anyone walks through your living room. Where the Hardie siding ties in, we cut, flash, and seal with the same care we’d use on a new home on your lot.
- 5
Test and inspect. We run water tests at every new flashing point and seal before closing walls. Hardie fiber cement swallows water at seams when flashing fails, so we check every transition ourselves.
- 6
Cleanup and the 365-Day Done Right Promise. You get a photo of the clean-up before the crew leaves. If anything isn’t done right within the first year, we make it right, in writing, no argument.
What James Hardie Garage Conversion Contractor Costs in San Antonio
Here are realistic ranges for James Hardie garage conversion work in San Antonio, based on what we typically see:
- Basic attached garage conversion to living space (no bathroom, existing Hardie siding stays mostly in place): $45,000 to $62,000
- Attached garage conversion with full bathroom and kitchenette (requires cutting and re-flashing Hardie siding at new plumbing wall): $65,000 to $85,000
- Detached garage to ADU or apartment (full re-siding or major Hardie replacement, new electrical panel, separate entrance): $75,000 to $110,000
- Hardie siding and trim replacement during conversion (per linear foot, including removal, new board, paint, flashing): $9 to $14 per square foot of wall area
What moves the price: whether the garage shares a wall with the house, how much existing Hardie siding has to come down, whether you’re adding plumbing, and whether the slab needs leveling. San Antonio’s expansive clay soil means older slabs often need attention before a conversion starts, and that’s a line item most contractors skip until it’s too late. We price it up front. Call (210) 981-6358 for an exact quote, and we’ll put the number in writing before a single tool comes off the truck.
Why San Antonio Homeowners Call Seedling ADU San Antonio for James Hardie Work
Every James Hardie garage conversion we build is backed by the 365-Day Done Right Promise, and every job starts with a written price. Our technicians are background-checked and uniformed, so you know exactly who’s walking through your door on a school morning. We answer the phone with a live person 24/7 during your build, and when Ben’s not on a job site, he’s usually the one picking up. We also work with Abodu, Cover, and Dvele for homeowners considering a prefab ADU instead of a conversion, so the conversation covers every option, not just the one we prefer to sell. The Cedarwell Care Promise applies on every visit: shoe covers, drop cloths, pet-safe products where there’s a choice, and a photo of the clean-up before the crew leaves.
FAQs
In most cases, no, as long as the siding is not damaged by the conversion work itself and any new installation follows James Hardie’s published installation requirements. Improper cutting or nailing during a conversion can void coverage on the affected boards, which is why we document everything and match the manufacturer’s specs for gap spacing, flashing, and fastener placement. If you’re concerned about a specific warranty question, call (210) 981-6358 and we’ll walk through what applies to your boards before any work begins.
Sometimes, but not always. Hardie has changed board textures and ColorPlus palette offerings over the years, and a San Antonio wall that’s been sun-faded for fifteen years won’t match a brand-new board even if it’s the same product code. We’ll show you physical samples against your existing wall and recommend a paint-break or full-elevation re-paint when an exact match isn’t possible. It’s an honest conversation, and you’ll see the options before you spend a dollar.
Most garage conversions in San Antonio take 8 to 14 weeks from the day we start framing to the day you’re walking through a finished room. Permitting through the City of San Antonio typically adds 4 to 8 weeks before that, depending on whether you’re in a historic district like King William. We give you a realistic timeline on day one and stick to it, which Ben will tell you matters more than any sales pitch. Call (210) 981-6358 and we’ll put your specific schedule in writing.
Yes. Every garage conversion in San Antonio requires a permit, and any structural change that involves removing or re-flashing siding has to pass inspection. We pull the permits, coordinate the inspections, and don’t cover anything with drywall until the work behind it has been signed off. It protects your home, your insurance, and your Hardie warranty.
It shouldn’t, and with us it doesn’t unless we find damage that genuinely couldn’t be seen before the wall was opened, which does happen in older San Antonio garages where termite activity or rotted framing hides behind intact Hardie board. If that happens, we show you photos, explain the fix, and get your approval before we spend a cent. Every estimate is written and fixed, and the 365-Day Done Right Promise backs the finished job.
Written by Ben Ortega, Owner, Seedling ADU San Antonio at Seedling ADU San Antonio, serving San Antonio and nearby areas.